Car Talk: How to Change Your Oil
Credit to Photo Submitted
Published: April 8, 2016
If you drive your own vehicle, you should know that about every 3,000 miles you need to change your oil. When you change your oil, it protects your engine against heat, friction, sludge and deposits. It is also very important to change your oil filter as well so that it does not clog up and let particles get back into your engine. Oil changes are pretty easy, and you can save a buck or two if you take some time out of your day to change it.
The first step is to find out the kind and amount of oil the engine takes. The easiest way to do this is by going to your local auto parts store. There, they will tell you the weight of the oil you need and how much oil is needed. While you are there you can also ask them the type of oil that they recommend for your vehicle whether it is conventional, semi-synthetic or full synthetic. While you are there, do not forget to get the right oil filter for you car, too.
Step two is to get everything else you need to complete your oil change. You are going to need ramps or jack and jack stands to lift the car, ratchet set to remove the drain plug, gloves so the oil does not get on your hands, eye protection, the new oil and filter, oil catch pan and a strap wrench or cup to remove the oil filter. Once you have everything together, it is time to start.
Step three is to get the car up in the air. You can do this by either having a friend guide you onto a pair of ramps or by using a jack and jack stands. If you use a jack and jack stands make sure you find a solid piece of metal to jack the car up. Then, put the jack stand on a solid piece of metal on that side of the car also. Repeat the same process on the other side, too. Make sure the car is off the ground high enough that you can fit underneath.
Step four starts the oil change. Make sure the vehicle is off and the engine is cold. If the engine is hot, the oil will be heated which could potentially burn you. Pop your hood and remove your oil cap on the engine to get started. You want to put your eye protection and gloves on before getting under the vehicle. Once you are under the vehicle, you need to locate the drain plug and oil filter. If you are unable to find them, just search the year, make and model of the vehicle saying, “Where is the oil filter and drain plug?”
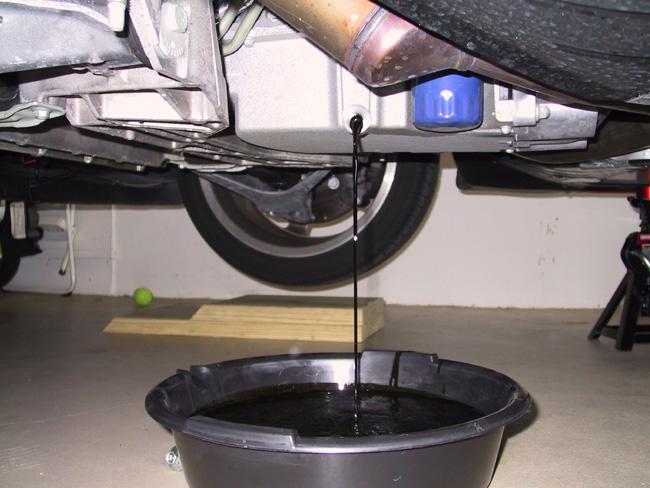
Step five, grab your ratchet and find the right fitting to remove your drain plug, making sure that the oil catch pan is under where the drain plug is. You may want to put cardboard under where the car is in case there is a bit of a spill. Once the drain plug is removed and oil has stopped coming out from the engine, put the drain plug back in and tighten it.
Step six is to remove the oil filter using the strap wrench. Make sure that the oil catch pan is underneath because there may be oil left in the filter still. Put the strap wrench around the filter and turn it to the left to get it off. Once off, be sure the old gasket is on the old filter then put the new one on hand tight.
Step seven is to clean off any oil that got on the car. Once the bottom of the car is clean, you can put the car back on the ground by removing the jack stands. If the car is on ramps, leave the car on the ramps.
The final step is to put the recommended amount of oil in the car be simply pouring it in the top through the oil opening. Put the oil cap back on, then start the car, if you used ramps you can back the car off them at this point. Turn the car off, then check the dipstick. You do this by removing the dipstick, cleaning off what oil is on it, then putting it back in and removing it. If the oil is between the lines, you’re good.
Doing your own oil change is very simple and can save you a few dollars. Also, by doing your own oil change you get to know your vehicle better, increasing your knowledge about your car.


![JV Girls Basketball Takes A Win To FZE On The First Game Of The Season [Photo Gallery]](https://FHNtoday.com/wp-content/uploads/2024/12/voccer10.24_kwallace-3-300x200.jpg)
![It's Time for the BOE to Respect Student Input [Editorial]](https://FHNtoday.com/wp-content/uploads/2024/11/Untitled_Artwork-1-300x173.png)


Mary • May 24, 2016 at 5:00 am
Nice post, Thank you for this article.
http://bestsyntheticoilreviews.com/royal-purple-oil-review/